Thursday 5 April 2012
Ingrid Ford
So onto the treatment!
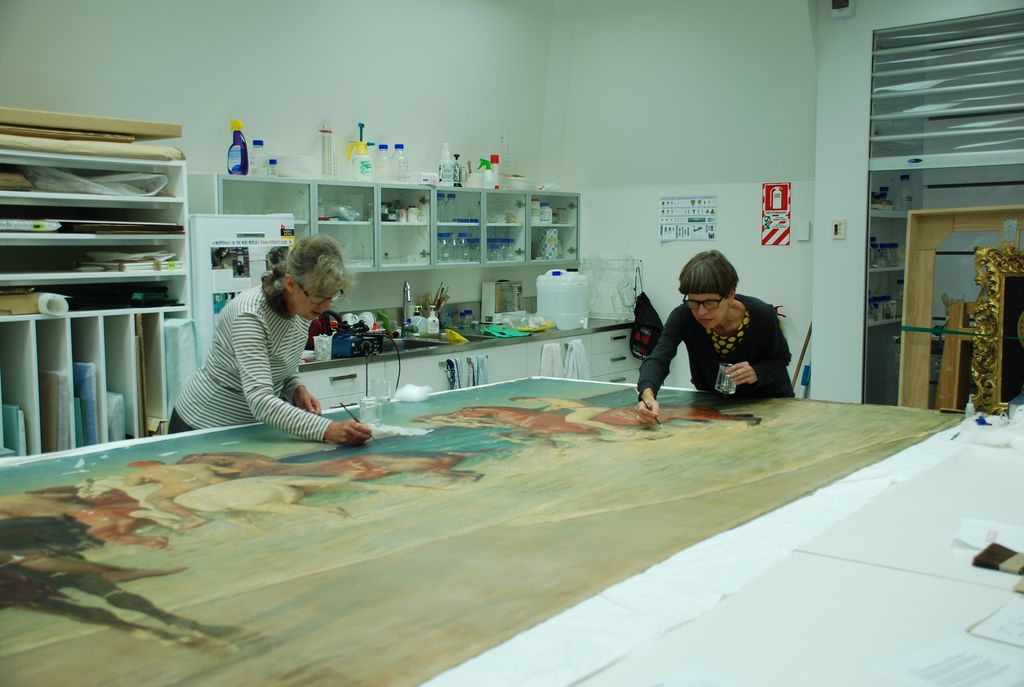
Once the painting was laid out, we needed to come up with a plan on what steps we could achieve in the time the work was in the lab.
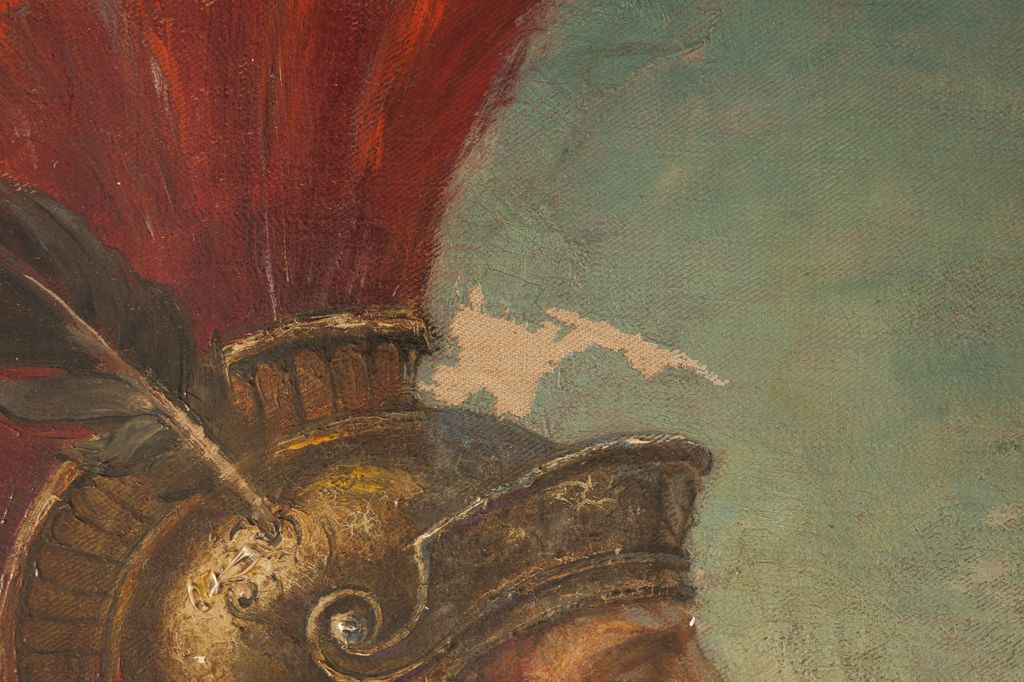
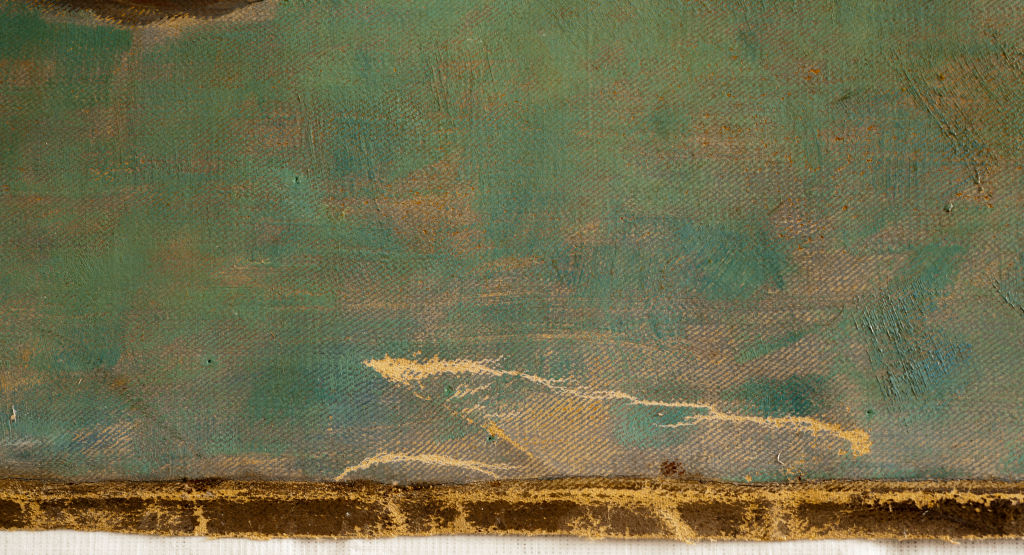
Our first step had to be to clean and consolidate the cracked and damaged paint. Constant rolling and unrolling of the work to access the back and the front meant added stress to the paint layer that we hoped to avoid. By consolidating the damaged paint we could safely turn the painting back over to work on the repair of the tears, but that will come later!
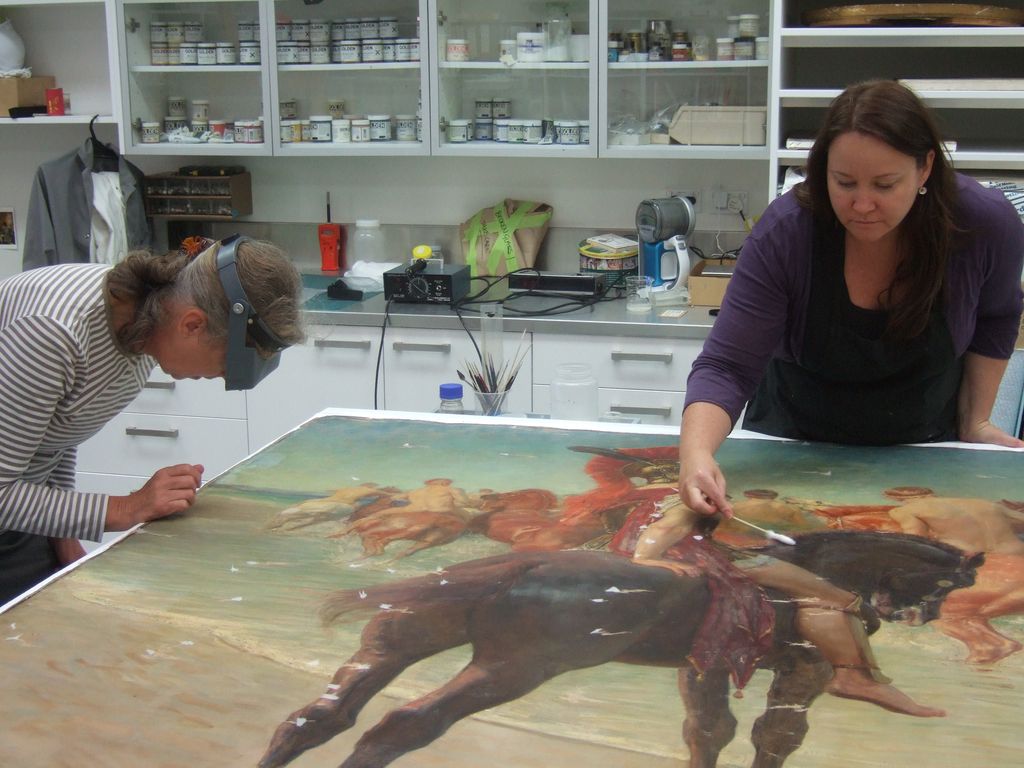
After a number of tests to sections of the painting, we were able to determine which cleaning solution was the most effective. Although the areas of damaged paint certainly needed to be stabilised, we had to clean the dirt off first otherwise we would be adhering dirt to the surface!
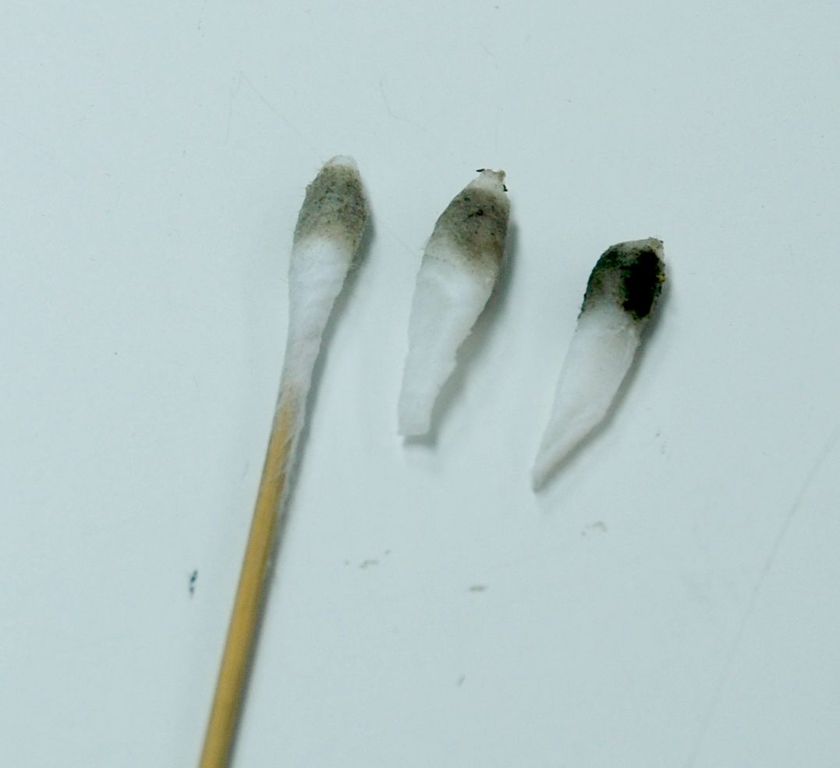
After settling on a suitable cleaning solution, the surface dirt of general dust and grime from decades of age and storage came off easily. By rolling the damp cotton swabs over the surface we were able to remove the dirt without disturbing the fragile paint around the damaged areas.
